Pages

Saturday, March 31, 2018

"Our birthdays are feathers..."

Hello Crafty Friends!

Today is my day to share a project at Elizabeth Craft Designs and I am sharing a birthday card made for a sweet friend of mine.  I wanted to create a bright and beautiful card for her with an inspiring quote.  One of the quotes from Elizabeth Craft Designs' stamp set, Happy Birthday Collection (designed by Suzanne Cannon) was perfect for the card front:
The card had several layers but was easy to create.  Feel free to hop on over to the blog post for card instructions and the product list.

Thank you for stopping by!  Have a happy, crafty day.  :)
Big Hugs,
Kathy Jo

Friday, March 30, 2018

Altenew and Sakura rose card

Hello Crafty Friends.

The week of sharing projects for the FaveCrafts Blogger Contest is almost at its end.  Today I would like to share my last (but not least!) project submitted for the contest.  The project used product from one of the contest sponsors, Sakura.  Other product was used on the card- the product will not only be mentioned in the instructions but also at the end of this post.

Card Instructions:

  1.  Create the gold half pearl embellishments by applying Sakura's Pen-Touch Calligrapher marker in gold to the pearls.  (This is a great way to use up some of those pearls in your stash that you just don't seem to use.)  You can use either the wide tip or ball for the pearls.  (It is best to make a lot of these as they take a little bit of time to dry thoroughly and you will want to use them on future projects.)    
  2. Stamp flower from Altenew's Garden Treasure stamp set onto Fabriano Black Black Pad paper using Versamark and heat embossing in gold.  Stamp and emboss two rose leaves onto same paper.
  3. Color using desired Soufle marker.  Fill in tips of stamen using 05 Gelly Roll pen in white.
  4. Die cut rose and leaves using Altenew Garden Treasure dies.
  5. Dry emboss ivory patterned paper.  Die cut using Spellbinders Squares die.  Use Pen-Touch Calligrapher marker along outer edges of square die cut.
  6. Die cut coordinating pink paper using Spellbinders Victorian Medallion Three.  Apply Pen-Touch to the outside of die cut.
  7. Die cut black card stock using largest die from Medallion set.  Create tent fold card.
  8. Mount pink die cut onto card base using liquid adhesive.
  9. Mount Ivory die cut to base using double sided foam tape.
  10. Mount leaves to card front using liquid adhesive.
  11. Mount flower to front using double sided foam tape.
  12. Apply gold half pearls as desired.
The pretty pink, black, gold and ivory results in a lovely any occasion card for someone special on your card list.

Thank you to Sakura for being a sponsor and providing product to those participating in the FaveCrafts Blogger Contest.

Sakura Of America - Power To Express

Shown below is the product with links used for the card.  Please note that I am an affiliate for ShareASale and ShareASale just happened to be a sponsor for the FaveCrafts competition, too.  I would like to thank ShareASale for also being a sponsor of the event.


Product used:

Versamark stamp pad
Gold Embossing Powder
Image result for altenew garden treasure die set
Altenew Garden Treasure die set
Altenew Garden Treasure stamp set
Souffle pens
 
Image result for sakura pen touch calligrapher
Pen-Touch Calligrapher
Thank you for stopping by!  I do hope you enjoyed the card.  :)
Have a happy, crafty day.
Big Hugs,
Kathy Jo

A trio of Leisure Arts cards- watercolor, colored pencil and vintage Distress coloring

Hello Crafty Friends!

What a busy week it has been here on I'm a Little Teapot sharing projects for the FaveCrafts contest!  Today is no exception as I am sharing a trio of cards created using product from Leisure Arts and Xyron.  The card images are all from the Thank You Coloring Note Cards with Envelopes.
Thank You Coloring Note Cards with Envelopes (6 Pack) - Front Cover
The package contains two sets of three different note cards.  The first card created was the happily designed "Thank you so much" and colored using the 30 pack of Premium Coloring pencils.  I ended up carrying the cards and pencils in my purse so that I could color during break time at work.  Every day I looked forward to my break and finishing another bit of the card.
I played with the coloring to try to give some depth and pop to the details.  My favorite area of detail are the petals on the sunflower.  The same coloring technique was used in several areas on the card.
 After the card was completed, I cut the note card in half and mounted it onto a card base.


Next, I decided to try out watercoloring a note card.  (It is important to know that the cards are not made from watercolor or mixed media papers.  I knew this before I starting watercoloring as I had full intentions of mounting it onto card stock.)  Leisure Arts' 30-pack of Watercolor pencils were used on the card front.

The card came together quickly!  After the image was dry, I mounted it onto a large sheet of double sided adhesive tape and then matted onto a card base:

After finishing the two above cards I decided to try out a vintage inspired card.  The image was completely covered in Distress Ink (Antique Linen).  Next I took a watercolor brush and used various Distress Inks to color the image.  The plan was to have it look like a 1960's style print with colors reminiscent of the time period.  Here is a closeup of the leaves:

When the card front was completed I cut the image, distressed the edges and then applied more Distress Ink along the edges.  It was mounted onto a card base.

The finishing touch was a piece of vellum with a die cut "Hello" mounted.  The Hello die cut was made as a sticker using the Anna Griffin Create a Sticker by Xyron.  I have the larger Create a Sticker by Xyron so I am very familiar with the method.  I really like this little sticker maker!  Not only is it super pretty, but it is small enough to bring to crops and keep on your work surface.  It has a layer of plastic above your created sticker for ease of removing the small glue balls that sometimes appear.  (No more adhesive balls on your fingers!)  Here is an image of the wee unit (I have the darker patterned sticker maker):
Image result for xyron anna griffin make a sticker

The card was now complete and I was very happy with the results.  It looks so cool!
What a fun little card set this turned out to be!  And I was able to play with three different techniques for the different card images.  A perfect excuse to craft!  :)


A big Thank you to Leisure Arts for providing the cards and both sets of pencils.  Thank you to Xyron for the Create a sticker maker.
Leisure Arts


Thank you so much for stopping by!  I do hope you enjoyed the cards.

Have a happy, crafty day!
Big Hugs,
Kathy Jo


Wednesday, March 28, 2018

"In a perfect world you would live next door"

Hello Crafty Friends.

The past couple of days I shared home decor projects so I thought today I would change things up a bit and share a non-decor project: a pretty pink and gold card using Quietfire Design, Becca Feeken (Spellbinders) and Graphic 45 product.  (Probably my favorite paper crafty combination!)

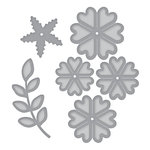
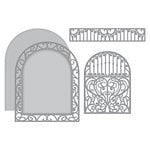
Two new Becca Feeken die sets were used on the card: Cinch and Go Flowers III and Ornamental Arch.  The Ornamental Frame was used to die cut ivory and gold card stock.  The large die in the same set was used to die cut the card base.  Such a pretty shape!  And the card base has three lovely shaped flowers from the Cinch and Go Flowers III set.  The center are stamen from Heartfelt Creations:
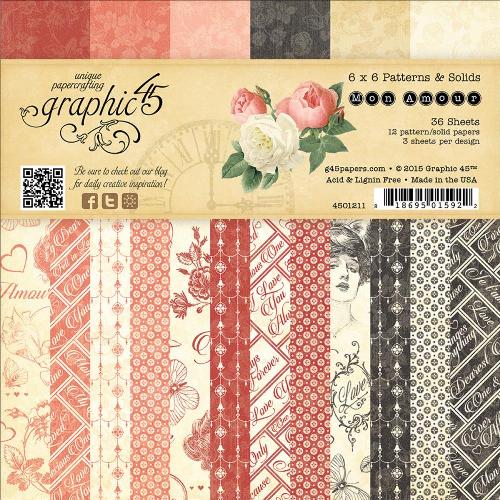
The gorgeous sentiment is from Quietfire Design's In a Perfect World stamp set.  It was stamped and heat embossed in gold onto vellum paper.  All patterned papers are from Graphic 45's Mon Amour collection.
Aren't the pinks, ivory and gold beautiful together?  Suzanne's (from Quietfire Design) calligraphy is stunning and looks fabulous with Becca's lovely dies and the timeless Graphic 45 papers.

Thank you so much for stopping by!  I do hope you enjoyed the card.
Have a happy, crafty day.
Big Hugs,
Kathy Jo

Product used:


Tuesday, March 27, 2018

Smile Inspire Dream vintage wood wall art

Hello Crafty Friends!

Yesterday I shared a project for the FaveCrafts Best Blogger Contest.  Today I would like to share another project for the contest: a vintage-y wooden "Smile Inspire Dream" shimmery wall art.  Testors Craft (Rust-oleum) provided a can of their new product, Intense Glitter.
For my project I used Intense Glitter in Silver. 

The intense glitter was applied to an aged looking wall plaque (Michaels) using a good quality acrylic brush.  The results were awesome!  I was blown away at how glittery the finish looked immediately.  Mind you, it is not a chunky glitter finish.  The finish looks smooth, shimmery and beautiful.  While it was drying I prepped the three inspirational words:
 Smile was a pre-cut wooden word that I painted using black acrylic paint.

Inspire was also a pre-cut wooden word.  I kept the Inspire as a dark wood finish and added sparkly gems (that looked great against the shimmery wall plaque).

Dream is a die cut designed by Suzanne Cannon for Elizabeth Craft Designs.  The die was used to cut hardboard and gold construction paper.

After the wall plaque dried, I used a doily stencil (Prima Marketing) and texture paste to add the doily detail in the top left corner.  A wooden heart was painted using red acrylic paint, air dried and more Intense Glitter applied. 
After dried, I used liquid adhesive to mount all pieces to the plaque as shown.  A wee white double bow and gold pendant were the finishing touches.  I am so thrilled at how the wall art turned out!  Now the tough part is deciding whether I hang this up in my craft room or my work cubicle.  I may need to make two.  :)

Thank you for stopping by!  Thank you, Rust-oleum, for sponsoring the event!


Have a happy, crafty day.
Big Hugs,
Kathy Jo

Monday, March 26, 2018

Best Blogger Contest- Upcycled bottle using Plaid products

Hello Crafty Friends!

In January I was fortunate to attend Creativation in Phoenix.  Over that weekend I attended the FaveCrafts Prime Networking Event.  During that event I met with several sponsors to discuss their products and many sponsors provided product to be used on projects.  These projects would be shared on our blogs, social media and be entered into FaveCrafts' Best Blogger Contest.  Today I am sharing the first project for the contest: an upcycled bottle using Plaid Enterprise, Inc products.

The project started with a bottle that should have been placed in recycling but I liked the shape of the bottle too much to toss it.  Instead I grabbed some mixed media product to upcycle the beautiful bottle. 

The bottle required prepping: after a thorough cleaning I applied glue and seal to the entire surface.  After drying, white gesso was applied.  The next steps are where the fun began...

FolkArt Crackle Medium was applied to the gesso surface.  A crackled surface appeared after drying.  Next a layer of FolkArt Metallics in Ice Blue was applied liberally to the bottle.  The crackled metallic sheen is gorgeous:
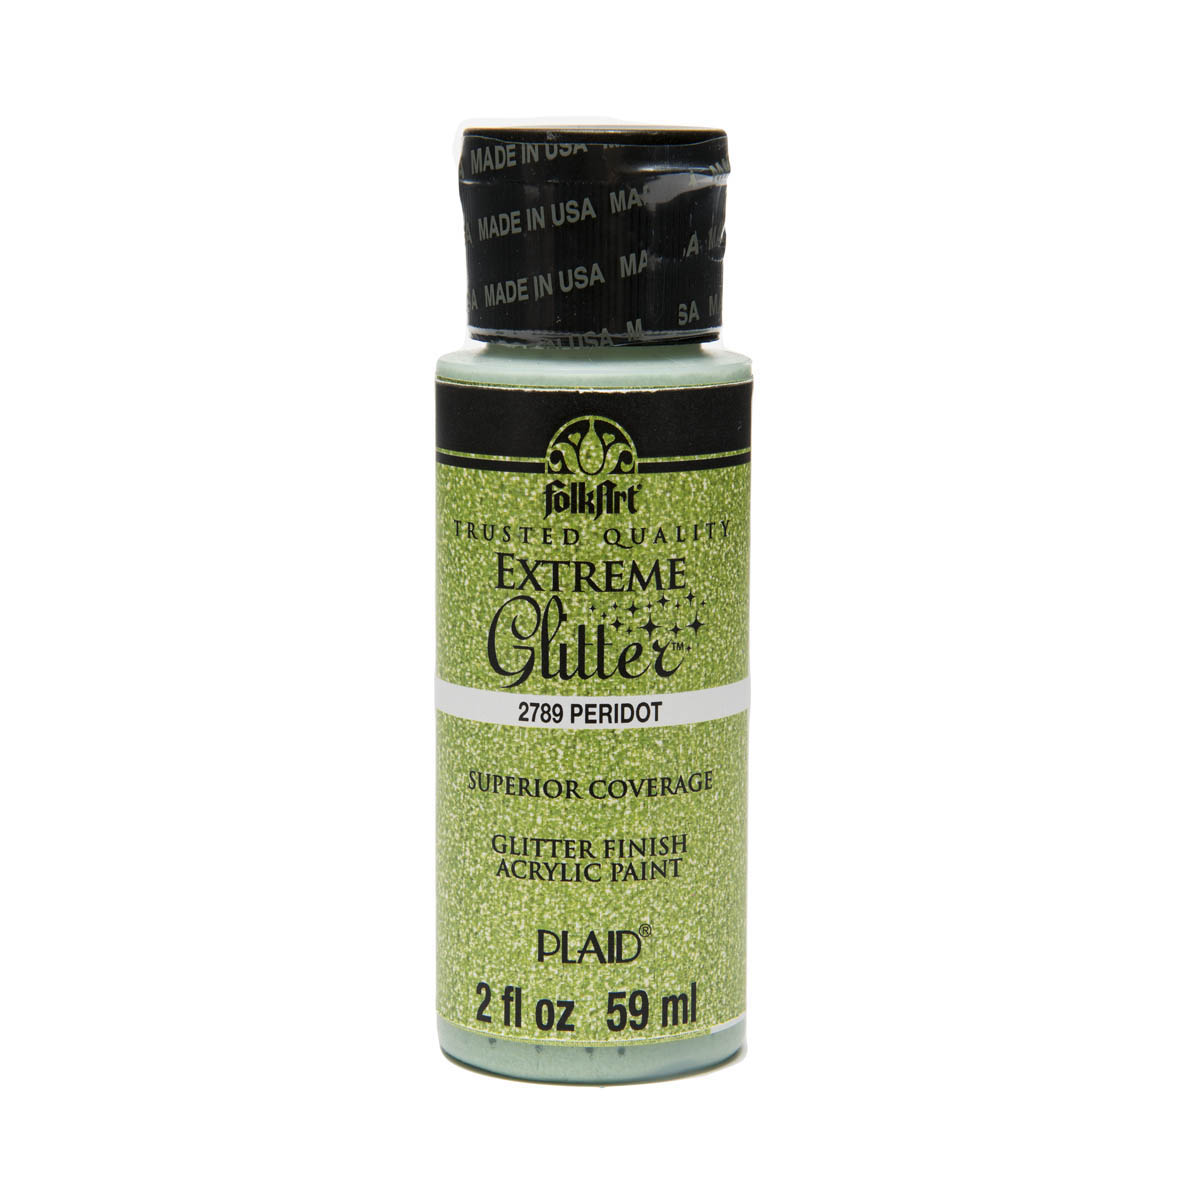
Next, FolkArt Glitter paint in Peridot was applied to the top of the bottle.  I wanted a dripping affect so I purposely used a lot of the paint and let it slowly drip down the bottle.
After it was completely dry, I applied a light layer of the Metallic again over the entire bottle.  It resulted in a very shimmery, metallic finish.  Below is a closeup of the finish.  You can see the Peridot glitter in the crackled surface, too.
The final touch was the application of gilded flakes to the top of the bottle. 

The colors were not only picked because I like them- I wanted a bottle to hold the colorful group of feathers that have been patiently waiting for the perfect container.  The bottle and feathers look fantastic together!
It is so bright, shimmery and pretty!  It will look great on a shelf in front of a window.

Thank you for stopping by!  And a big Thank You to Plaid Enterprises, Inc for being a sponsor at the Prime Networking Event!

Plaid

Have a happy, crafty day.
Big Hugs,
Kathy Jo

Plaid product used:

FolkArt ® Metallics - Ice Blue, 2 oz.
Metallics- Ice Blue

FolkArt ® Mediums - Crackle Medium, 2 oz.
Crackle Medium
FolkArt ® Extreme Glitter™ - Peridot, 2 oz.
Extreme Glitter


Sunday, March 25, 2018

Graphic 45 Off to the Races mini album with video

Hello Crafty Friends!

An exciting day here at I'm a Little Teapot: I have a YouTube channel!  Woo-who!  The channel will share projects (such as mini albums) and tutorials.  If you have requests for any tutorials, feel free to leave a comment and I will add it to my tutorial list.

The first video I would like to share is of a Graphic 45 Off to the Races portfolio/album.  The project is full of beautiful imagery from the paper collection and fussy cut roses.


Below are photos of the album. 

A closeup of the front corner of the album.  The leaves and stamps were fussy cut from various pages:
The inside of the portfolio.  It has a pocket with cards on the left side.  The right side has two flaps that lift to reveal a pull out mini album.
The inside with the album removed:
The front of the mini has four pockets.  I saved the internal cards for last as I wanted to create cards from scrap papers.  The system worked out well as I was able to use up some of the pretty scraps!
 Elegant ladies ready for the race!    Love the hats...
 The vintage patterns, roses and colors in the collection make it one of my favorites. 
 The large card inside of the pocket.

A fun set of pages to tuck pics or journal cards in the band on the left...
 ...and flip the right side for a photo or text.
 More fussy cut roses on the left surrounding the images.  On the right are more pockets.
Probably my favorite image in the entire collection.  The image of her with her horse is heartwarming.
Last but not least is the back of the closed portfolio.  
The project was perfect for the all day crop I was attending.  It was a happy day talking to my friends and fussy cutting the papers.  By the end of the day the project was almost complete...and I required minimal craft supplies to to create the project!

Thank you for stopping by!  I do hope you enjoyed the project and video.
Have a happy, crafty day!
Big hugs,
Kathy Jo

Related Posts Plugin for WordPress, Blogger...