Pages

Showing posts with label vellum. Show all posts

Thursday, July 7, 2022

New Amazing Paper Grace Die of the Month Release!


Hello Crafty Friends!

Today I am excited to share the newly released Amazing Paper Grace Die of The Month for July.  This is a fabulous die set that can be used to create the most beautiful cards and paper projects.

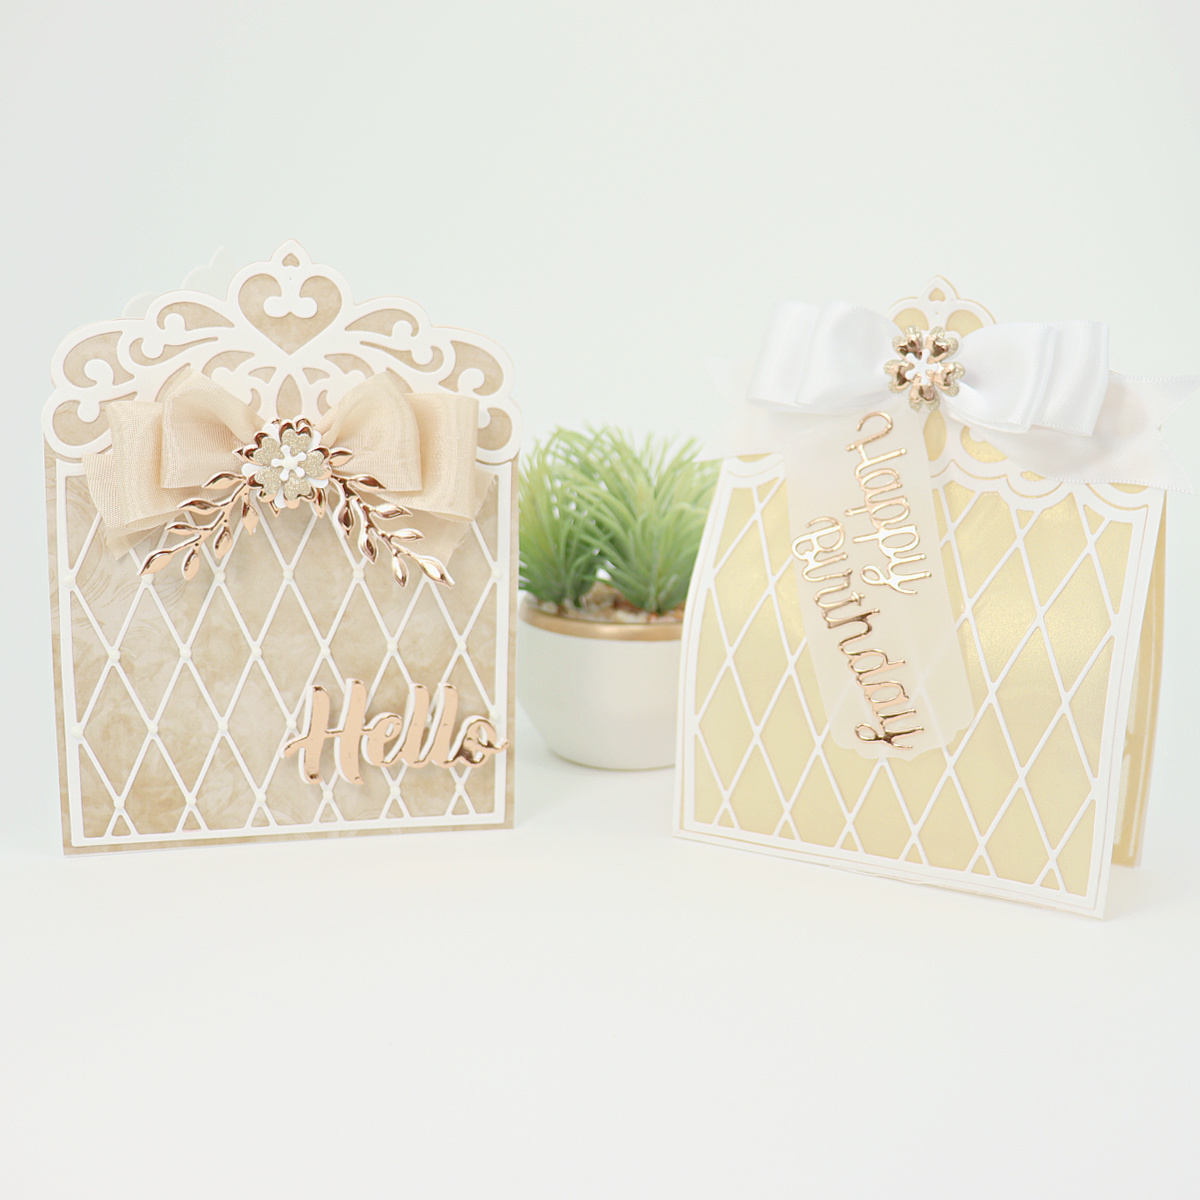
It was difficult to choose what I wanted to create with the die set- Birthday card, any day card, Christmas card, or Wedding card?  I could not decide so I made a birthday party favor and a sweet Hello card.  But before I get to more photos I have to say the following (but if the die set was not supplied I would have bought it because it is an awesome set!):
 
Today's creations were created with the dies supplied by Amazing Paper Grace.

There are 13 cutting dies included in the Tiara Trifold.
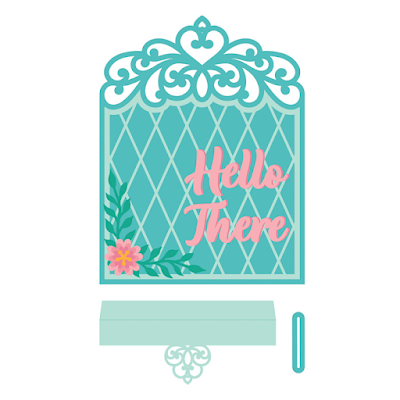

My first project was the pretty "Hello" card.  The die details make it look like an intricate, time consuming card but it was not time consuming.  The dies make it easy to create a stunning card!

The next project was a sweet birthday party favor.  It was created using gold and white vellum, white card stock, metallic card stock, and acrylic.  

The party favor can also be used to hold a battery powered tea votive "candle".  It would look so nice as a table centerpiece.
Oh!  And add some extra glam to the trellis die cut by putting wee gems or Nuvo Drops on the trellis intersections.  I added white Nuvo Drops to the Hello card.
Supplies:
Amazing Paper Grace July 2022 Die of the Month – Tiara Trifold.
Amazing Paper Grace S4-1205 Merry Everything Words
Amazing Paper Grace S4-1206 Happy Occasions Words
The Amazing Paper Grace Die of the Month is available exclusively at Spellbinders Paper Arts during July 2022, Tiara Trifold along with other membership perks.

View this month’s Amazing Paper Grace Die of the Month! https://youtu.be/DDsj1W-BzAE

Follow me on Facebook!
Follow me on Instagram!
Follow me on YouTube!

Thank you for stopping by!  Have a happy, crafty day!
Hugs,
Kathy Jo

Thursday, June 2, 2022

Happy Birthday Butterfly Bliss Garden Shutters card

Hello Crafty Friends!

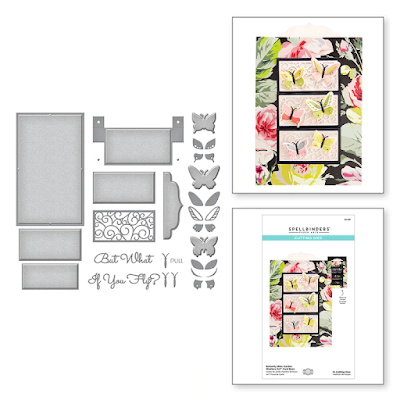
Have you seen the Butterfly Bliss Garden Shutters die set designed by Becca Feeken (Amazing Paper Grace) for Spellbinders? It is a very sweet die set that creates an interactive shutter style card. 

The die set consists of 19 thin metal dies that you can use to create a unique card for someone special. I saw this die set and knew I had to have it! My cards will be taken to a whole new level with this set.

The inspiration for my card today is the soft nature of June. My garden has happy little flowers throughout the summer and the June flowers are light colored and delicate. The flowers host beautiful butterflies, bees, and other delightful wee creatures. A garden is truly a magnificent place!

For the card I used the following product designed by Becca Feeken: 

Amazing Paper Grace Butterfly Bliss Garden die set (S6-183)

Amazing Paper Grace Tiara Rondelle (S5-342)

Also used was Spellbinders Hot Foil Be Bold Glimmer Sentiments (GLP-299)

The color choices are antique pink, ivory, gold, and white (vellum) as the colors are fresh and uplifting. The colors really bring out the intricate details of the shutter dies.

The butterflies are die cut in gold and ivory card stock as well as white vellum. I added some Nuvo Drops in White Blizzard to the butterfly wings. The butterflies are beautiful!

The card corners are created using ivory card stock with the Tiara Rondelle die set. The corners are not necessary as the card looked lovely as is- I just wanted to add them as "landing spots" for more butterflies.  :)

When the tab is pulled, the shutters flip up and the foiled Happy Birthday with another wee butterfly appears.  I chose the opposite colors for the inside shutters- pink as the ornate die cut with an ivory background.

I adore how this card turned out and look forward to creating another!  It was fun to make and the die set results in not only a unique but beautiful card. 

Thank you for stopping by!
Have a happy, crafty day!
Hugs,
Kathy Jo

Tuesday, November 24, 2015

Sentiments of the Season Blog Hop- Tutorial and Giveaway

Welcome to the Quietfire Sentiments of the Season Blog Hop! We’re celebrating the season with projects using our favorite Quietfire sentiment stamps and dies. We have some great ideas to share with you!
We’re giving away a prize on each of the Sentiments of the Season blog posts. The posts will be on Designers’ personal blogs and one on Quietfire Creations. All you have to do is leave a comment on the Sentiments of the Season blog posts and you will be entered for a chance to win a Quietfire stamp or die from that blog. Each designer will randomly choose the winner from their comments.

Here is our schedule: 
Day 1- Monday November 23 : Teresa and Yogi
Day 2 -Tuesday November 24: KathyJo and Judi Kauffman
Day 3 - Wednesday November 25: Wanda and Yvonne
Day 4 - Thursday November 26: Robyn and Selma
Day 5 - Friday November 27: Diana and Suzanne

The deadline for leaving comments is Sunday November 29, 2015 at midnight PST. Winners will be posted shortly afterwards here on Quietfire Creations. Good luck and have fun!
http://www.quietfiredesign.ca/Quietfire-Dies-from-Elizabeth-Craft/
For the Blog Hop I thought I would share some new techniques for your dies. As many of you know, I am a huge die junkie. Dies are so fun to use and sometimes I spend hours just running dies through my machine to try out new materials or layouts.

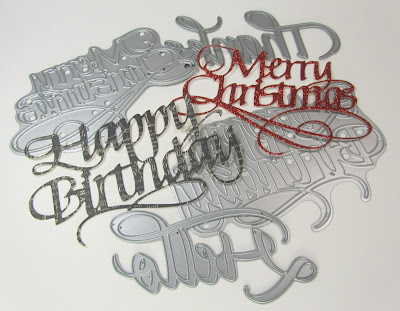
Today I want to share die techniques that do not involve embossing or cutting, but how to use your dies as stamps. Quietfire dies are so beautiful…why limit them to only die cutting and embossing? This post is a long one so grab a cup of tea and enjoy!

Before we start:
* Make sure your die is clean and all paper tidbits are removed from the die.
* It is best to work with thinner, flexible papers- card board and heavy weight paper (such as 110lb) may be too heavy. Textured surfaces should be avoided. When in doubt, test it out.
* Place your material on a flexible stamping mat. Stamps are flexible to help with stamping- dies are stiff and need flex under the paper.
* Remember to clean your die after stamping. You don’t want to ruin future die cut items by covering them with ink.
* Although dies can be “stamped”, you will not have lovely fine details like you would from an actual stamp. Keep that in mind when designing your project.

Die stamp setup:
You do not want your die permanently attached to a stamping block so only use a small amount of removable tape on the back of your die. Here was my initial setup:
I placed my die on a block with removable tack tape. My whole block was covered with the tape so it was removable…but was very tricky to get off one time. I do not recommend using this setup if your block is super tacky.

Just to re-iterate: You want to avoid bending your die so limit the amount of removable tape used. A small amount of removable tape will make the removal process easier and will protect your die.

Die Stamping- Vellum:
Just like with a stamp, Archival Ink works well on vellum. Apply the Archival Ink onto the die stamp setup. Test the image on a scrap piece of paper. You may want to test a few times to figure out your pressure required. After stamping on the vellum you may notice some ink transferred in addition to your die lines. Use a Q-tip and some stamp cleaner solution on the vellum to remove the stray ink. Dry with a heat gun.
You could just leave the image as is but I chose to emboss on the back side of the vellum. It created a nice embossed image with a black outline.
Die stamping- Chalkboard:
The Quietfire dies work perfectly for your chalkboard paper project. After cleaning the die, heavily apply Versamark. Stamp the die on black paper and heat emboss using white embossing powder. The letters on my example were scribbled in with Sakura’s Souffle gel pens:
I really liked the way the chalkboard style turned out. The partially filled in letters look very cool against the black background. (Please note that if you are looking for stamps in the same style, check out Quietfire’s Fill 'er-up series.)
A peek at the inside- more of the patterned papers and "Merry Christmas" Quietfire stamped sentiment.
Die Stamping- Watercolor:
The chalkboard style was awesome but watercoloring turned out to be my favorite style for die stamping. After playing for some time with the watercolor technique, I decided to mix up my stamping. For the below card I created a watercolor background using Barn Door, applied a wee bit of water in the center (to lighten the watercolor) and then heat dried. Next I applied Archival Ink in Coffee onto the die, stamped and then heat dried. Merry Christmas was stamped over the Believe using Jet Black Archival Ink and heat dried. Note that I stamped the Believe and Merry Christmas over the lighter colored red area for emphasis. On a craft mat, mix Barn Door, Vintage Photo and water. Apply the watercolor mix inside the Believe letters.
The seam binding was dyed using the leftover ink from mixture above. My hands were an inky mess at this point but I did not care because I having a blast playing in the craft room!
I do hope you liked the die stamping exploration…I know I enjoyed playing with the dies! If you do make a project using the above techniques, please link back to this post. I will make sure to leave some love on your blog, too. Talking about leaving love, don’t forget to leave a comment for your chance to win a new stamp or die from Quietfire Design. Your next stop on this hop is the ever so talented Judi Kauffman.

Thanks for stopping by! Good luck!
Big Crafty Hugs,
Kathy Jo

The cards above are entered into the following challenges:
Simon Says Stamp Wednesday, Christmas
613 Avenue Create, AG
Word Art Wednesday, AG

Wednesday, November 19, 2014

A Smile is the Best Christmas Decoration of All

christmas, card, wreath, a smile is the best, my mind's eye, martha stewart, distress stain, vellum
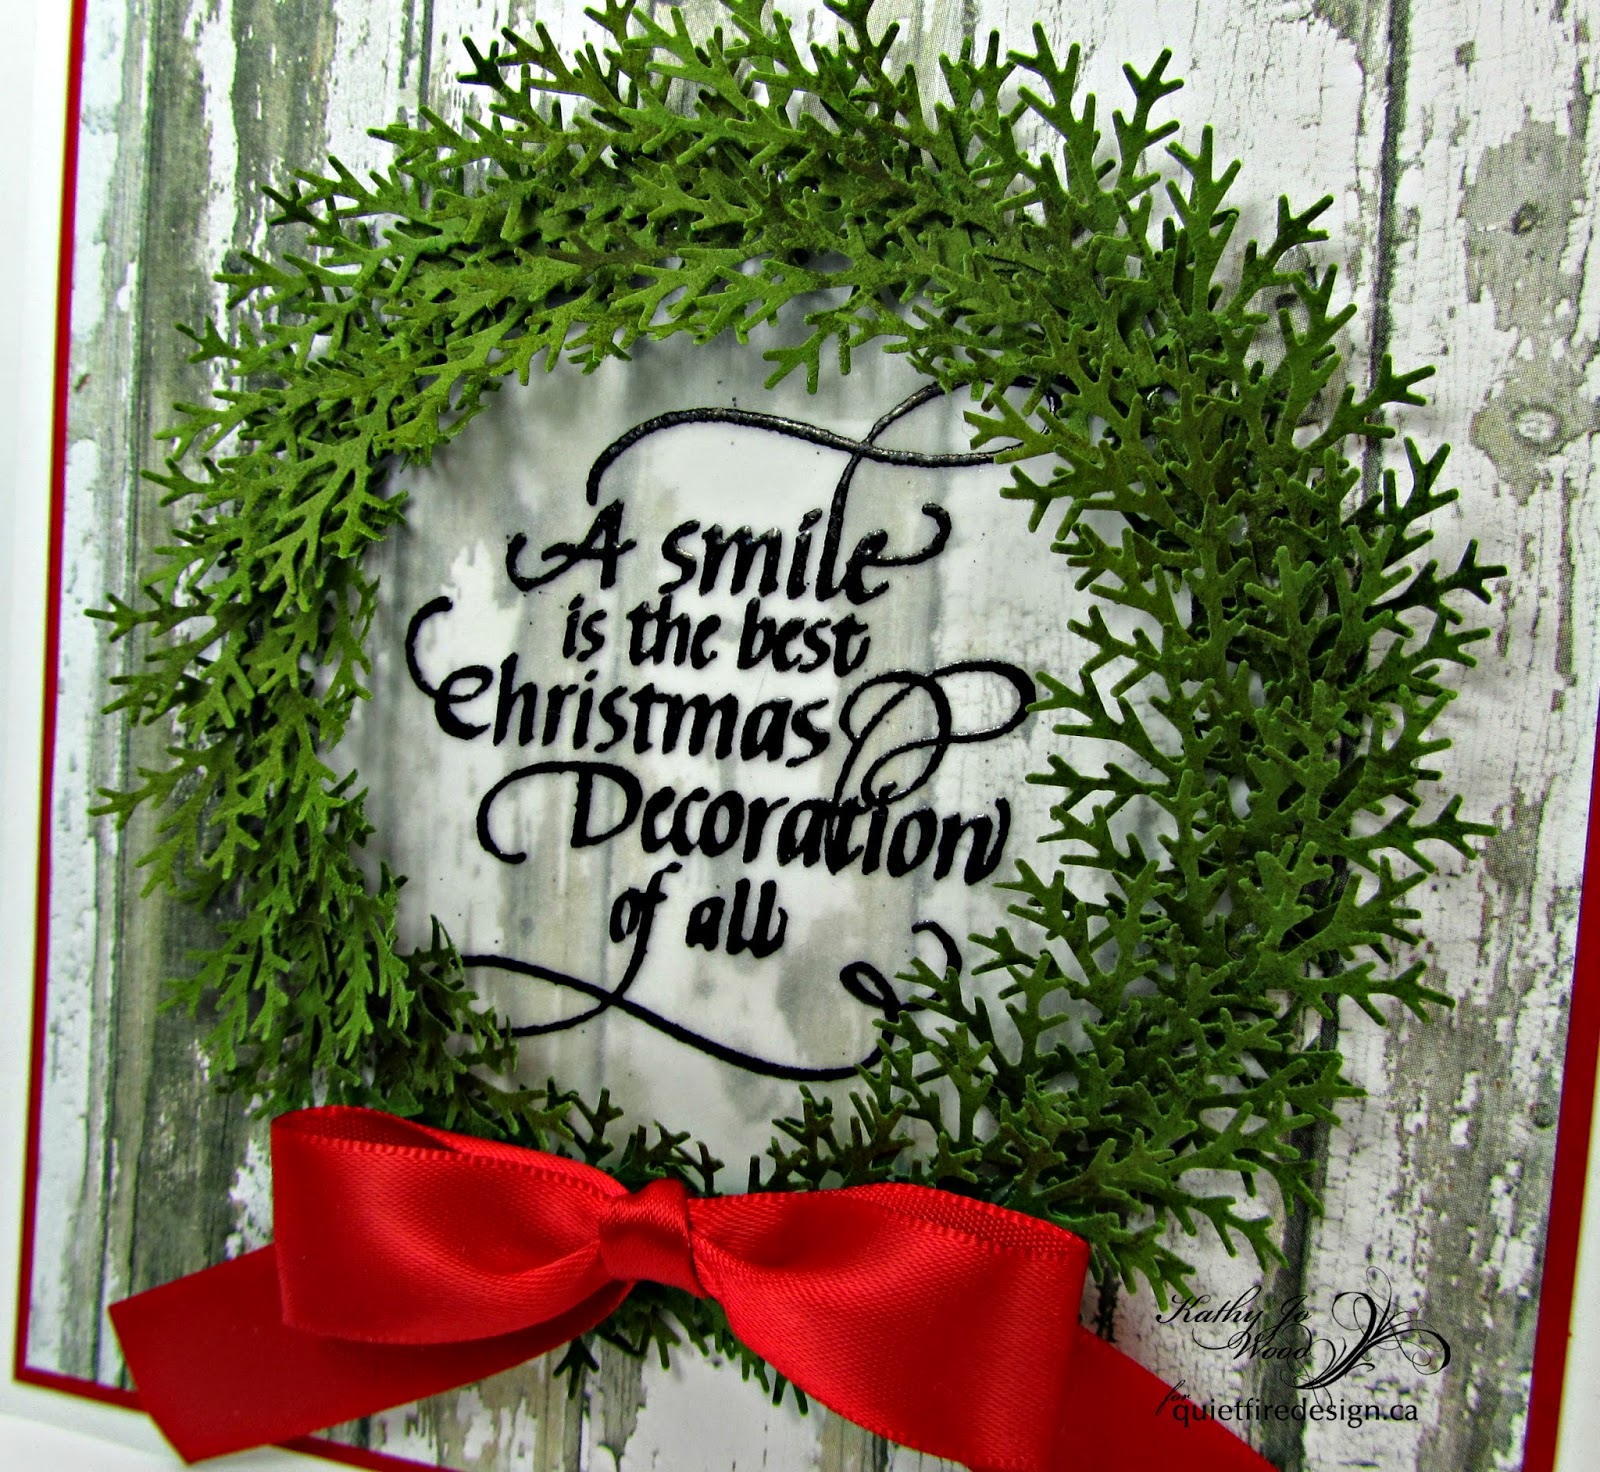
Hello All!  Today is my day to share a project at Quietfire.  Above is a sneak peak of the card using Quietfire stamp A Smile is the Best Christmas Decoration.
A Smile is The Best Christmas Decoration - Mounted
Feel free to hop over to Quietfire for step by step instructions on how to make the festive card.

OH!!! And don't forget to check out Quietfire's Super Amazing Awesome sale!!!  U.S. shoppers will love the dollar conversion.

Have a great day and thanks for stopping by!
Hugs, Kathy Jo

Wednesday, January 29, 2014

Guest Design Spot- Crafting By Designs challenge blog- "Think Warm Thoughts/Spring!"

Hello Crafteteers!

I am honored to say that I am the Guest Designer at Crafting By Designs!  The challenge is "Think Warm Thoughts/Spring".  Perfect idea for January...let's think spring!


One of my favorite flowers is the daffodil.  It is such a pleasure to see these magnificent beauties after all the snow has melted.  They are just so bright and cheerful.  What a great flower to start springtime!  

For my spring card I used Heartfelt Creations Daffy Daffodils stamp set.  The daffodil was heat embossed in gold on vellum paper.  Tim Holtz distress markers were used to color the image.  The vellum was adhered to ivory paper die cut using Spellbinders Opulent Ovals.  The card base is Spellbinders' Diamond Effects (don't you just love that die?!).

The inside of the card has Happy Birthday (sentiment from Inspired by Stamping's Vintage Frames).  

Thanks so much to the talented crafters at Crafting by Designs for allowing me to be a guest designer today!  

Thank you for stopping by and have a wonderful day!
Hugs,
Kathy Jo

This card is entered into the following challenges:
613 Avenue Create, AG
Word Art Wednesday, AG
TTCRD, AG
Stamp n Doodle, AG

Product used: Heartfelt Creations (Daffy Daffodils stamp set), Inspired by Stamping (Vintage Frames), Spellbinders (Diamond Effects, Opulent Ovals, Twisted Metal Tags and Accents, A2 Matting Basics A), Tim Holtz (distress markers and ink pads in Mustard Seed, Shabby Shutters and Peeled Paint), Stickles, Vellum, gold embossing powder, pearls, crafty spring thoughts.
Related Posts Plugin for WordPress, Blogger...